Travelling can create opportunities for spectacular photographs. With all the occasions to capture new and exciting scenes, it can also be a great time to get creative and try new techniques with your camera. Here are a few tips to make sure you capture those moments with excellence.
Colour
I have noticed a lot of people loving the big saturated colour they get with their new cellphone cameras. But a lot of people don’t know you can get that same saturated colour by tweaking a few settings right in your DSLR. On my Nikon, I increase the saturation in my Picture Control Settings menu to +2 or +3. I usually use the Standard profile but if I want even more colour I use the Vivid profile but reduce the contrast by -1. Seeing your images nicely saturated and full of vibrant colour while shooting can really get you excited about the shot in the moment and means you don’t have to spend hours enhancing your travel images on your computer. Look for contrasting colours to fill your frame to create even more impact.
Colour can change the mood of your shot. You can change the warmth of a photo with your white balance settings. Try the cloudy setting to warm things up or incandescent to give your landscapes a unique early morning blue look. Experiment with saturation and white balance on your next trip and watch your images pop!
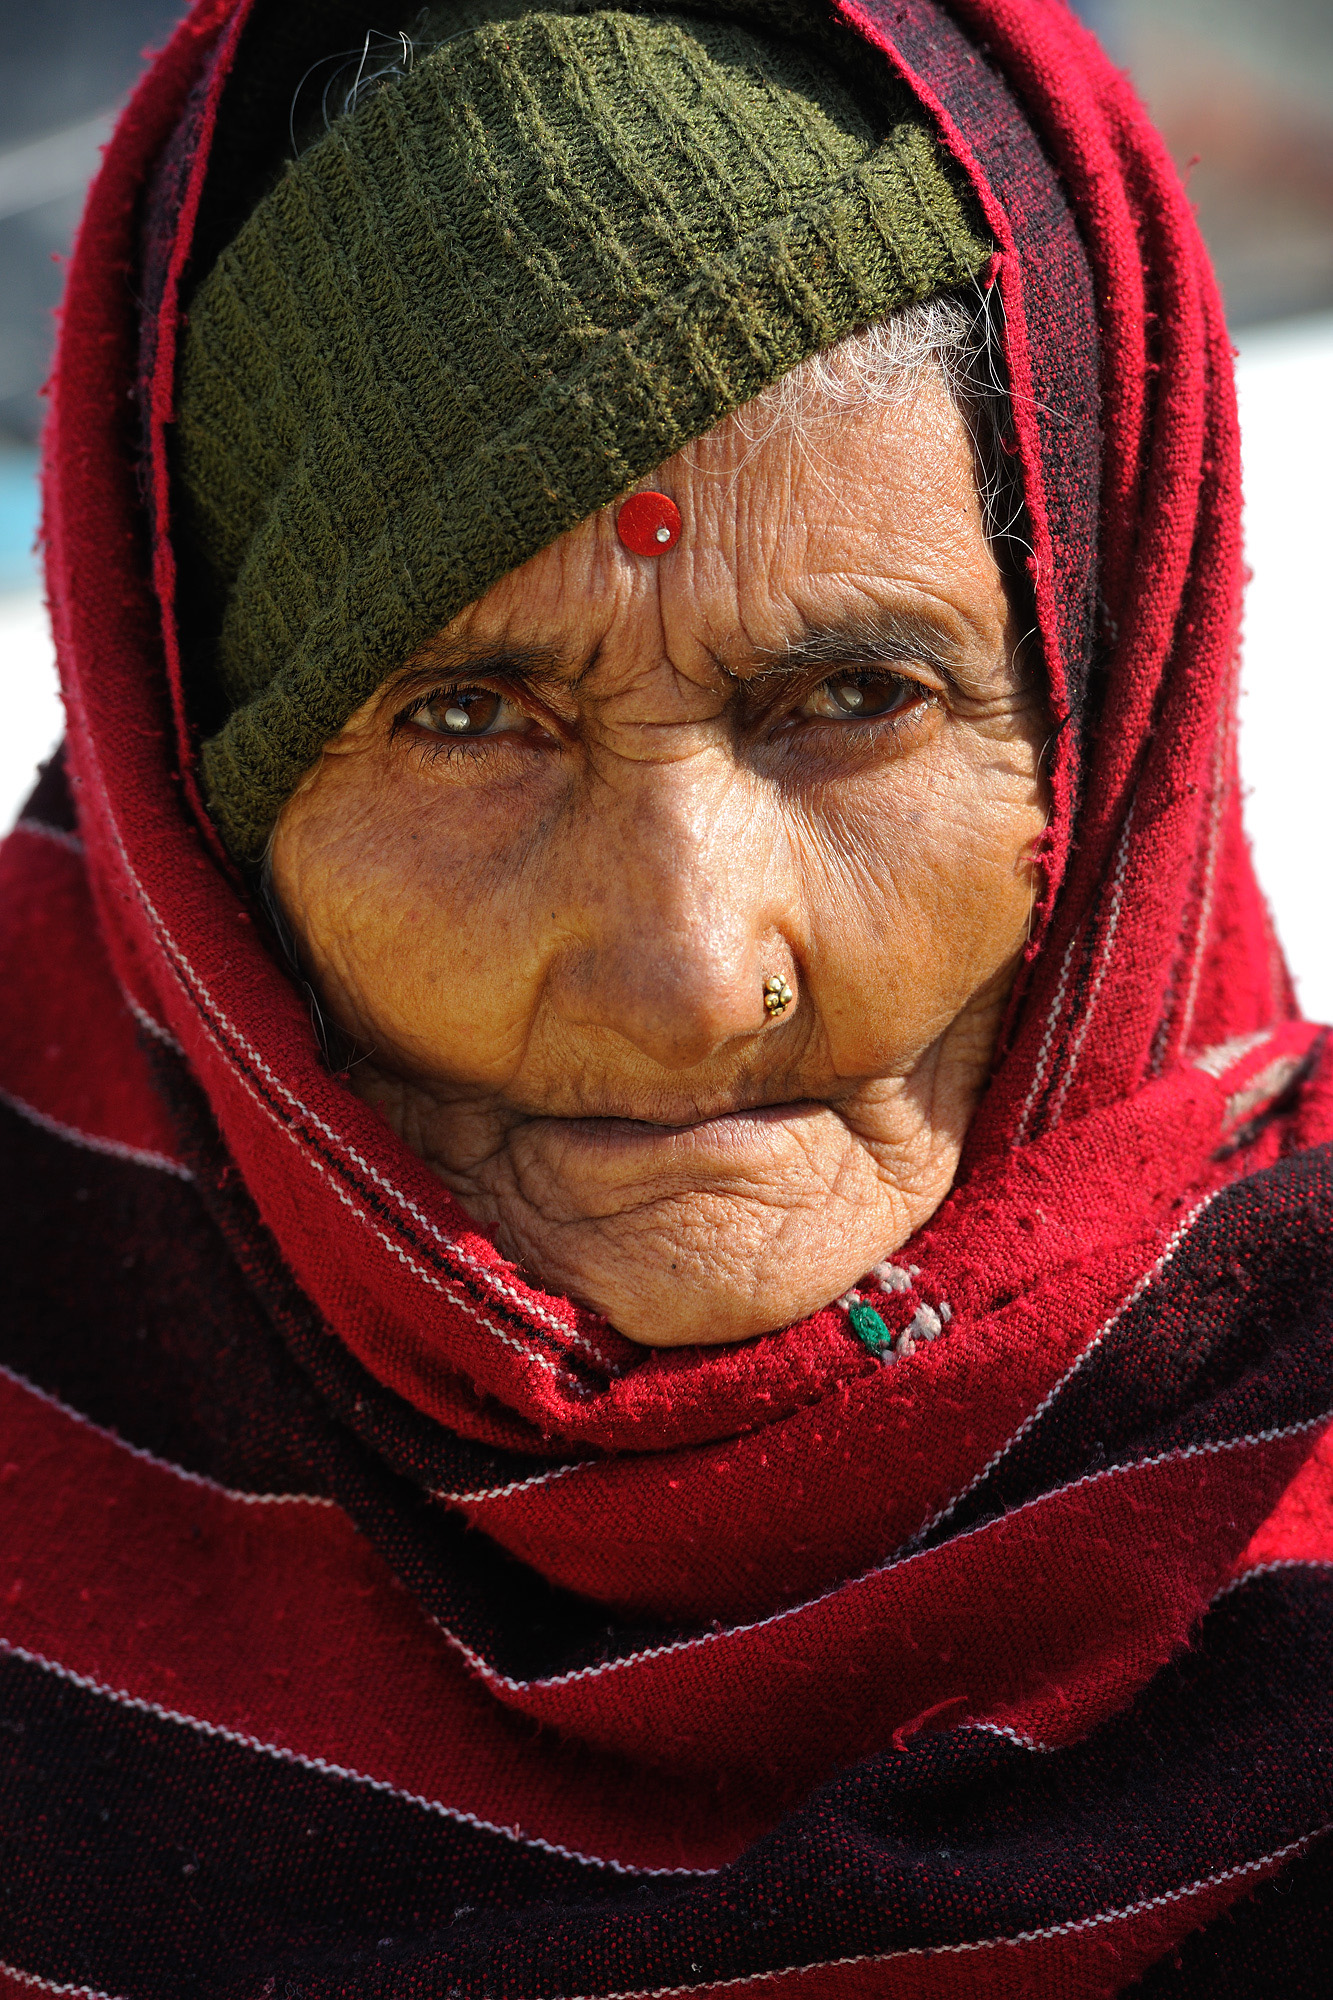
Left: I used a silver reflector to bounce light into this woman’s face and give her some light in her eyes. Even though this was shot midday, the light is still pleasing for a portrait.
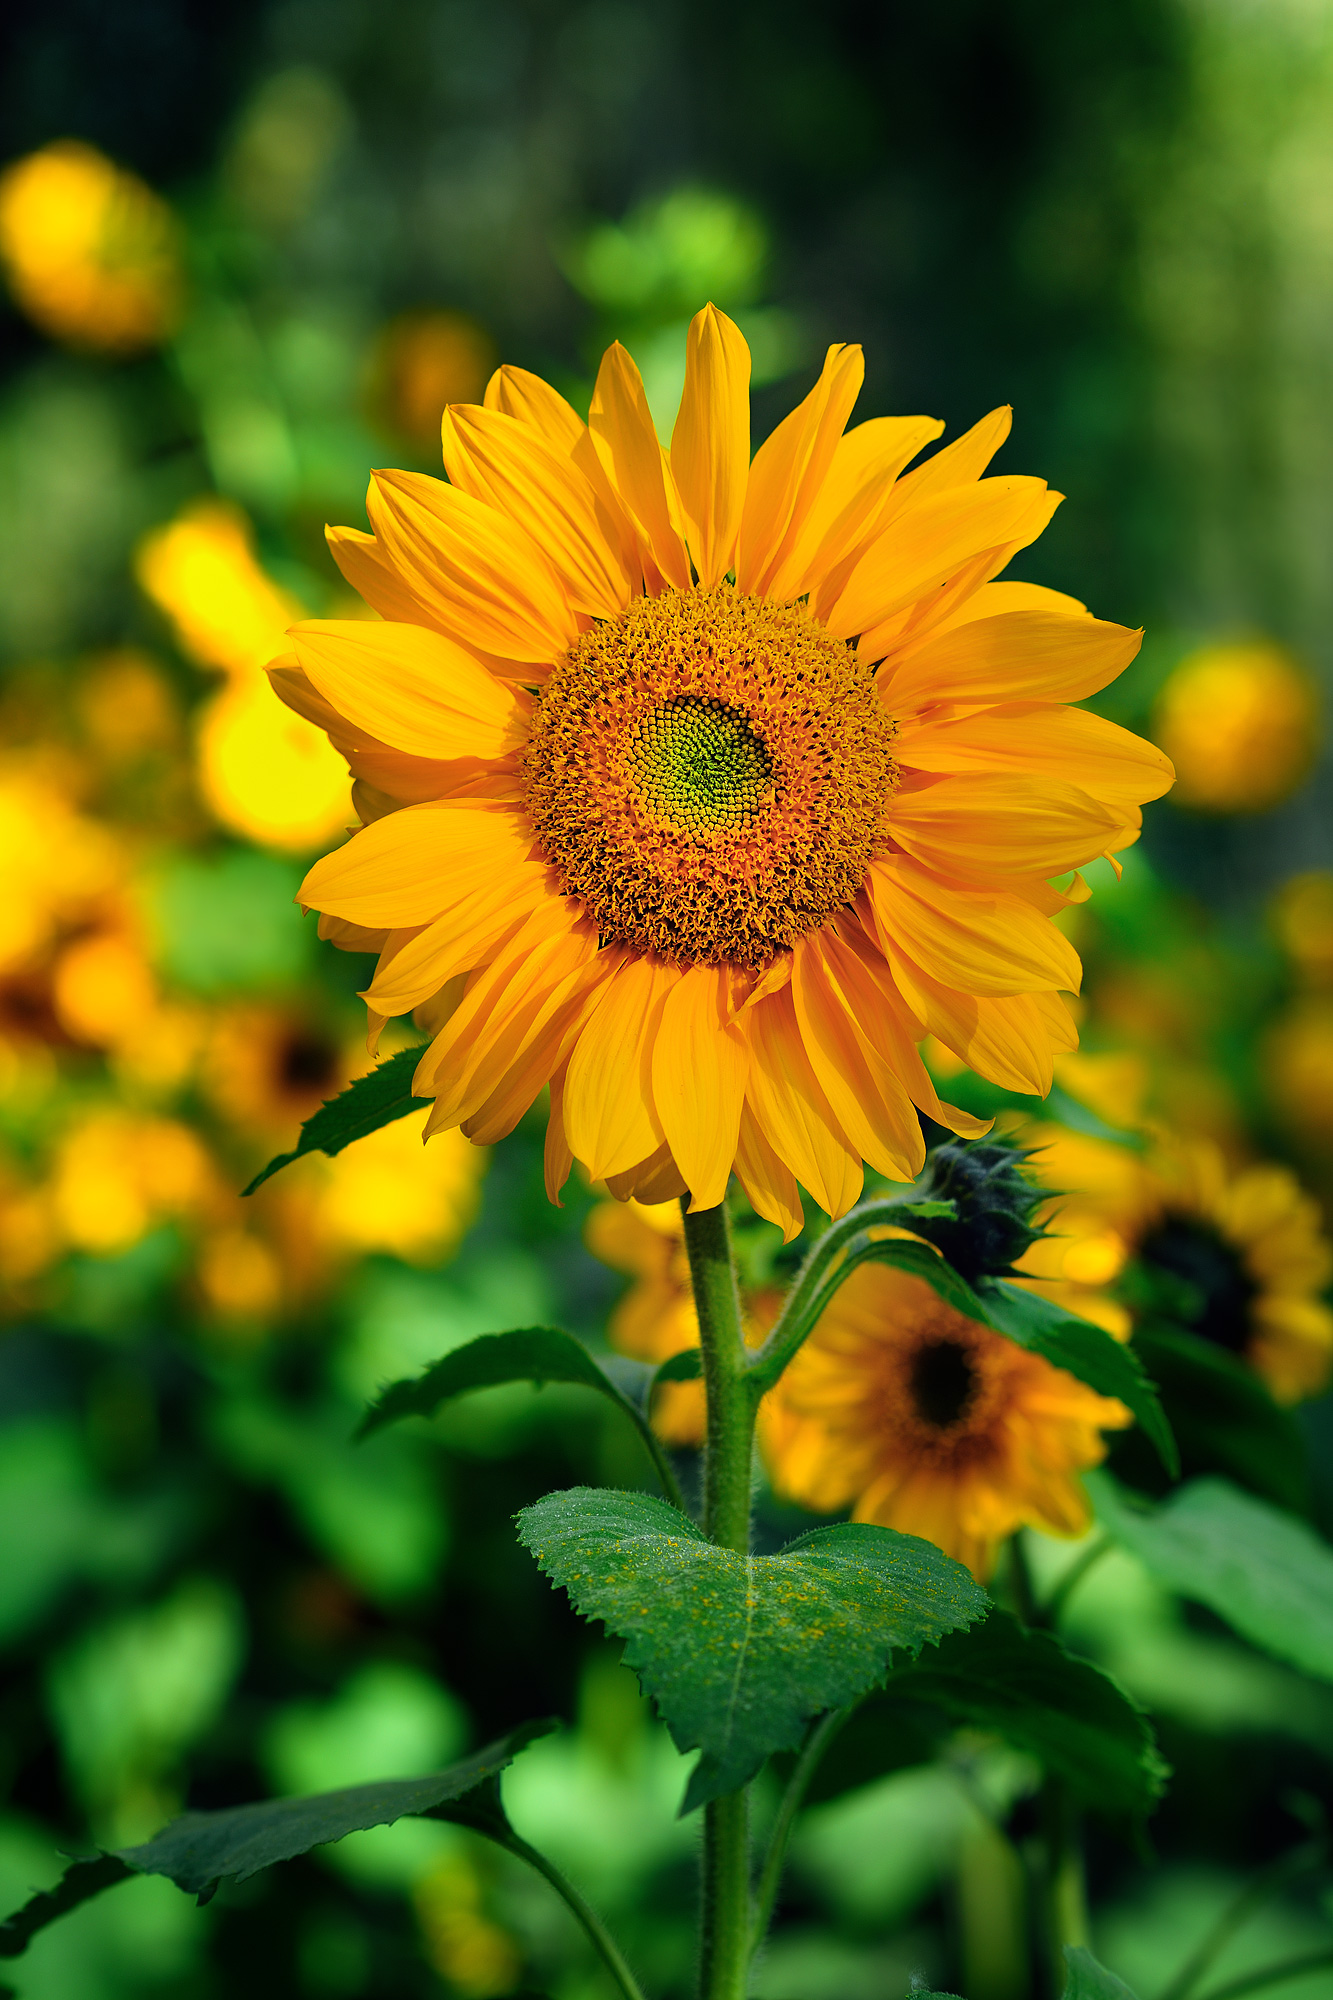
Centre: In-camera sharpening and shallow depth of field draw you in to this flower.
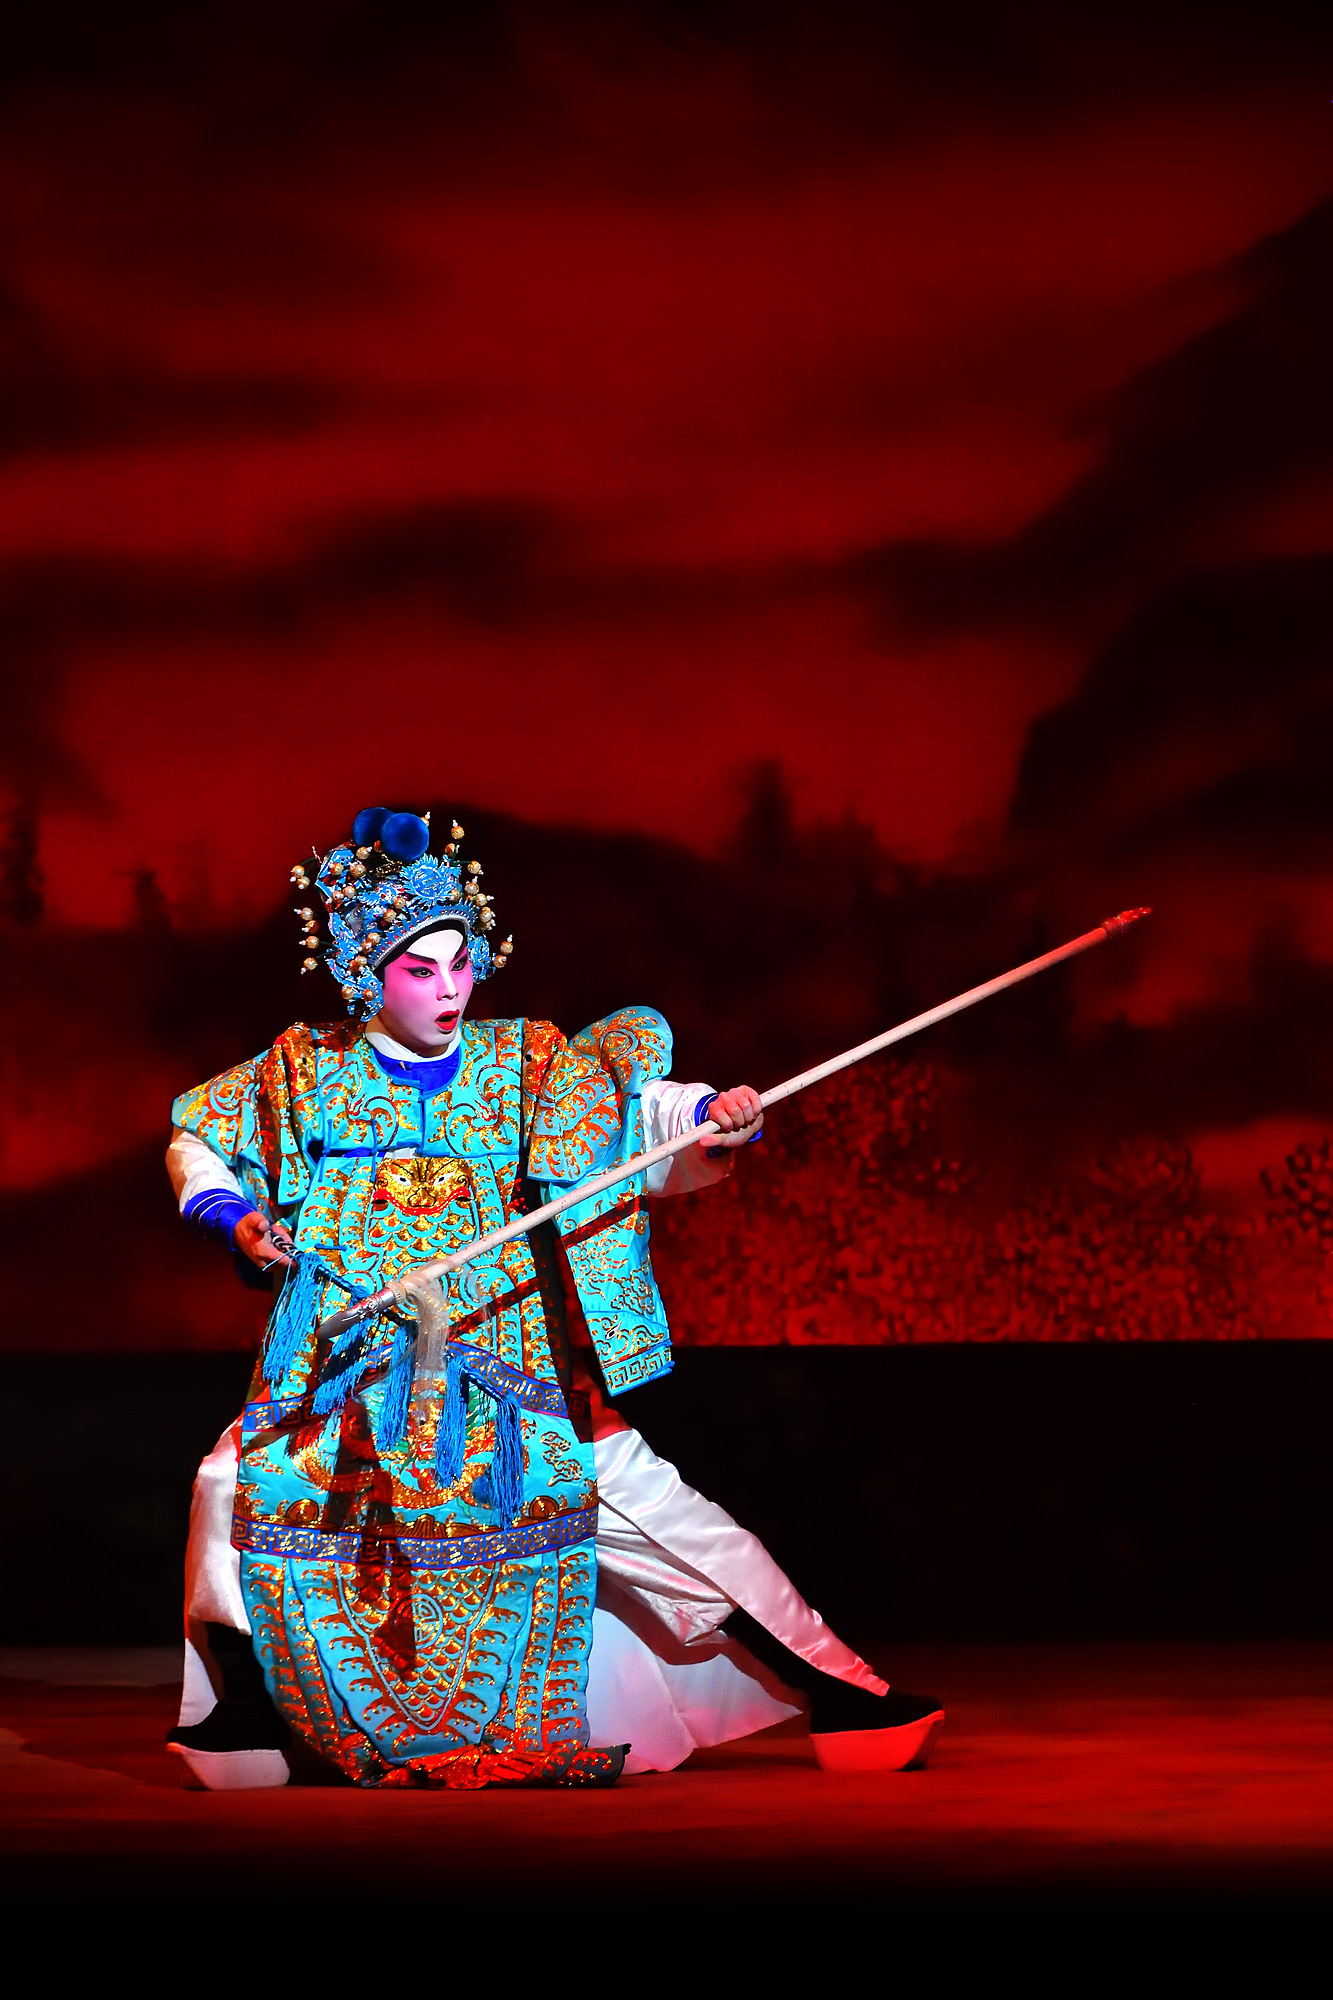
Right: A wide lens, low camera angle and saturated colours give this image its impact.
Sharpness
Nice sharp details really draw you into the photograph. Taking control of your camera’s focus can help with sharpness dramatically. I primarily use single-point focus selection and sometimes group, but I am always using my camera joystick to tell the camera exactly where I want to focus. One common mistake that people make is using a shutter speed that is too slow, which results in camera-shake. The photo looks out of focus but it is the shake that is the issue. I recommend shooting at least at 1/250sec handheld and 1/500sec with a longer lens like a 70-200mm. If your lens has VR (vibration reduction) you can use that to help camera shake as well. If you are shooting sports or fast-moving subjects like a surfer I would shoot at 1/2000sec. You may have to increase your ISO setting to achieve this but the results will be worth it. You can also use a shallower depth of field like an aperture setting of f4 with a longer lens to create emphasis on the subject and create impact by keeping the subject very sharp and the background soft.
Finally, I recommend doing some pre-sharpening in-camera, by going into your Picture Control Settings and increasing Sharpness. I generally use 6 out of 10 as my travel setting for most subjects and increase as needed. Sometimes I adjust my Clarity setting to +1 to enhance the detail in the image.
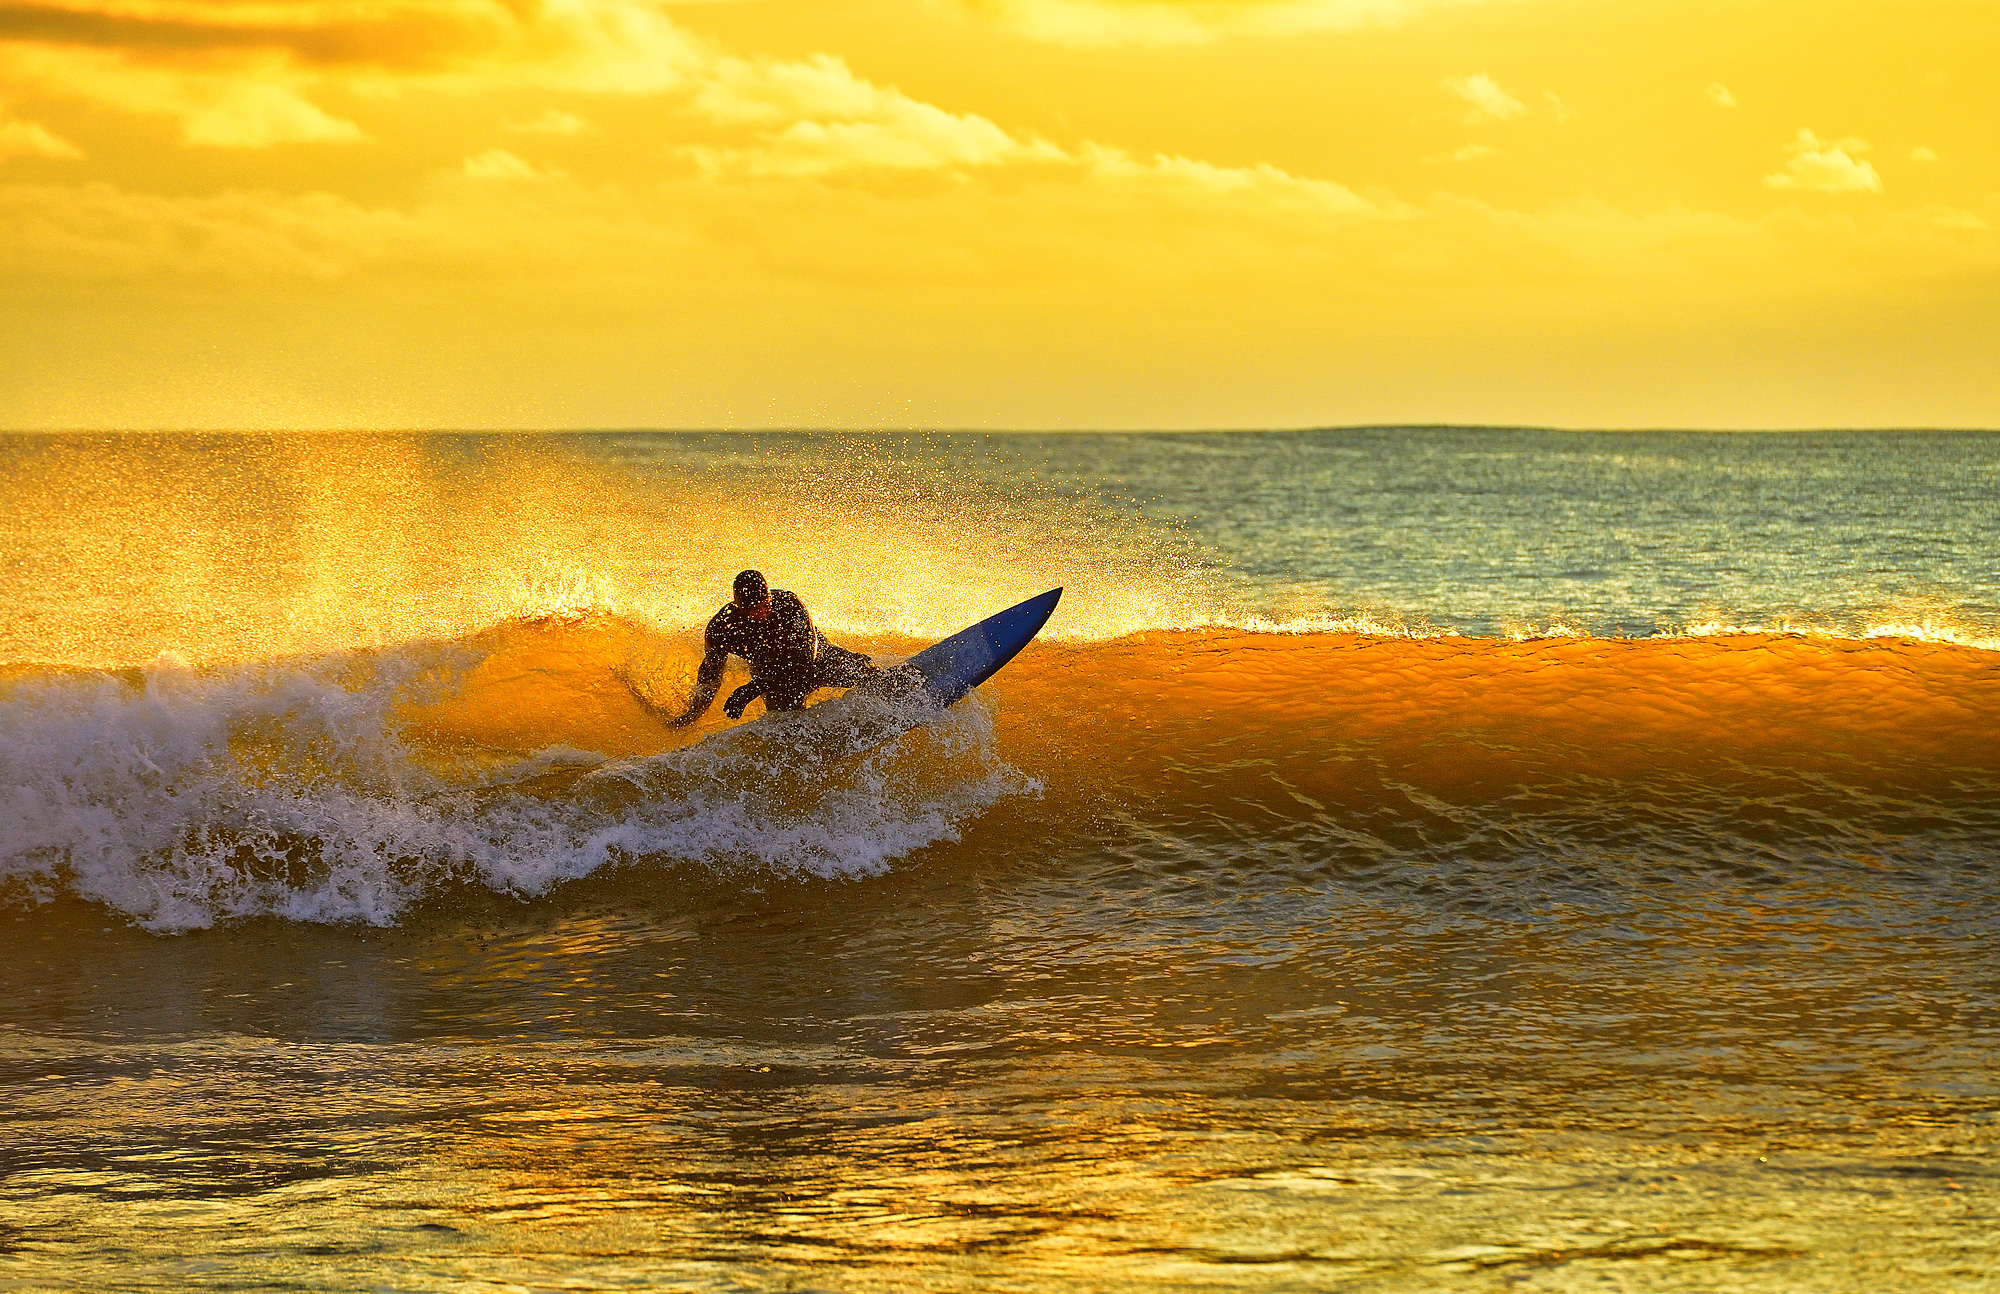
Left: I warmed up my white balance by using the cloudy setting in-camera to get a beautiful golden glow on this surfer.
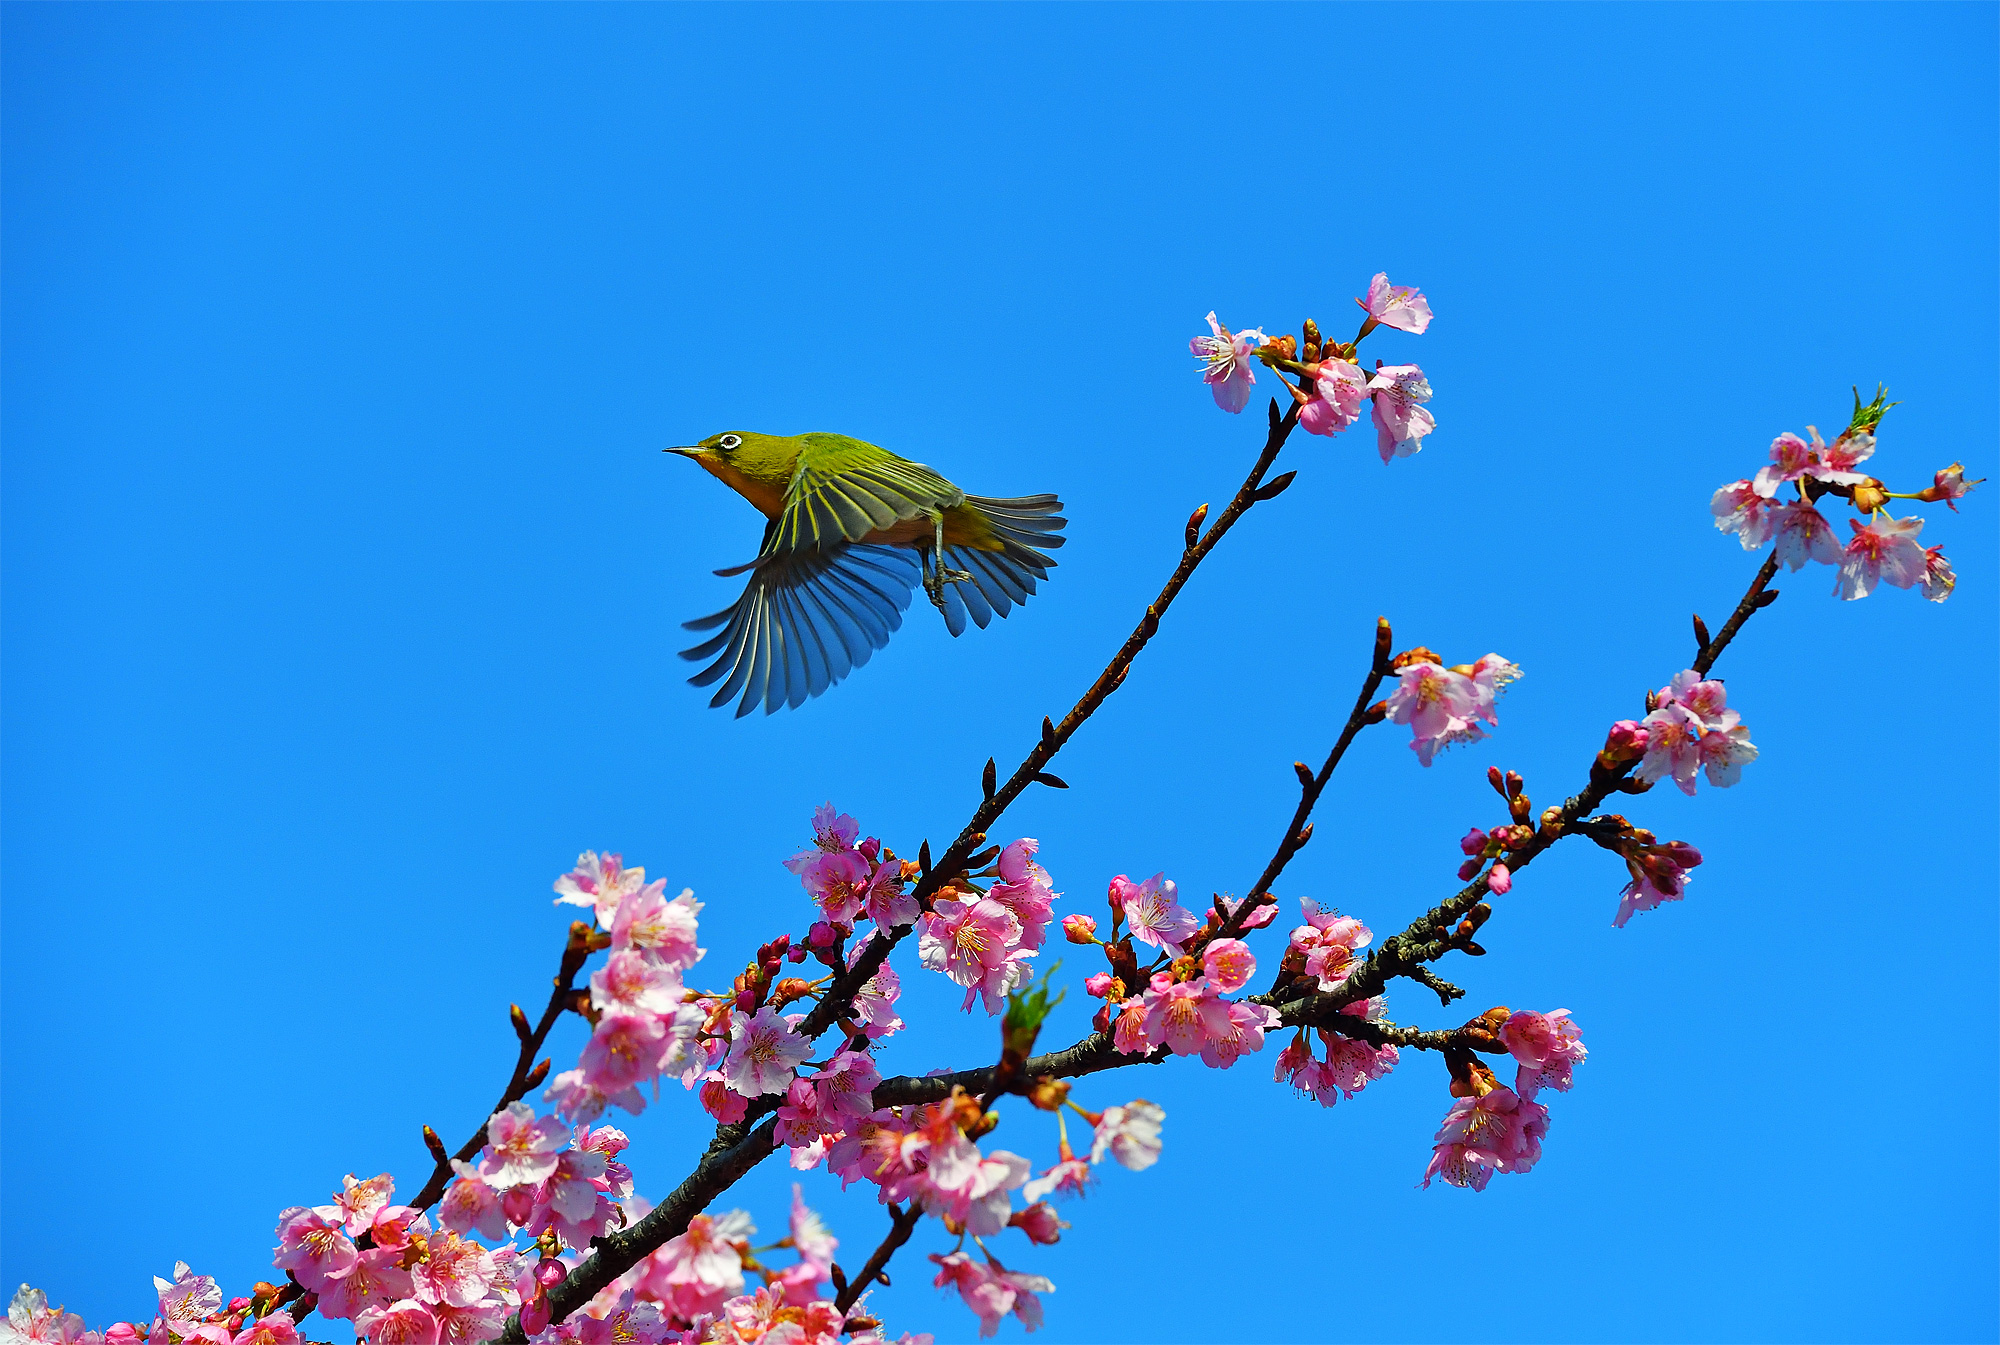
Right: Shooting at a very fast shutter speed, I was able to freeze the action and the bright contrasting colours give the image impact. Notice how the space in front of the bird draws you in to the movement.
Creativity
Creating an image out of the norm can produce a lot of impact. Some techniques such as capturing from a unique angle, experimental techniques, using in-camera HDR long exposures with a tripod, multiple exposure or painting with light can make the viewer look twice and hold their attention. Be on the lookout for abstract and illustrative elements that tell a unique story.
Composition
One key to creating dynamic images is composing them in a manner that leads the viewer’s eye. Often having the main subject or point of interest in a third of the image or off to the side and leaving some negative space to draw you in to the focal point can produce dramatic effects.
Using single-point autofocus selection helps me compose my image and usually the focus point is not in the centre of the photograph. For instance, when shooting sports, I often leave some negative space in front of the subject to give the viewer a sense of motion and to lead into the athlete’s eyes, which is where my focus point would be. Be mindful of your horizon line and ensure that your camera is level.
Turn on the camera’s grid display or virtual horizon (usually found in the Custom menu) to help line things up.
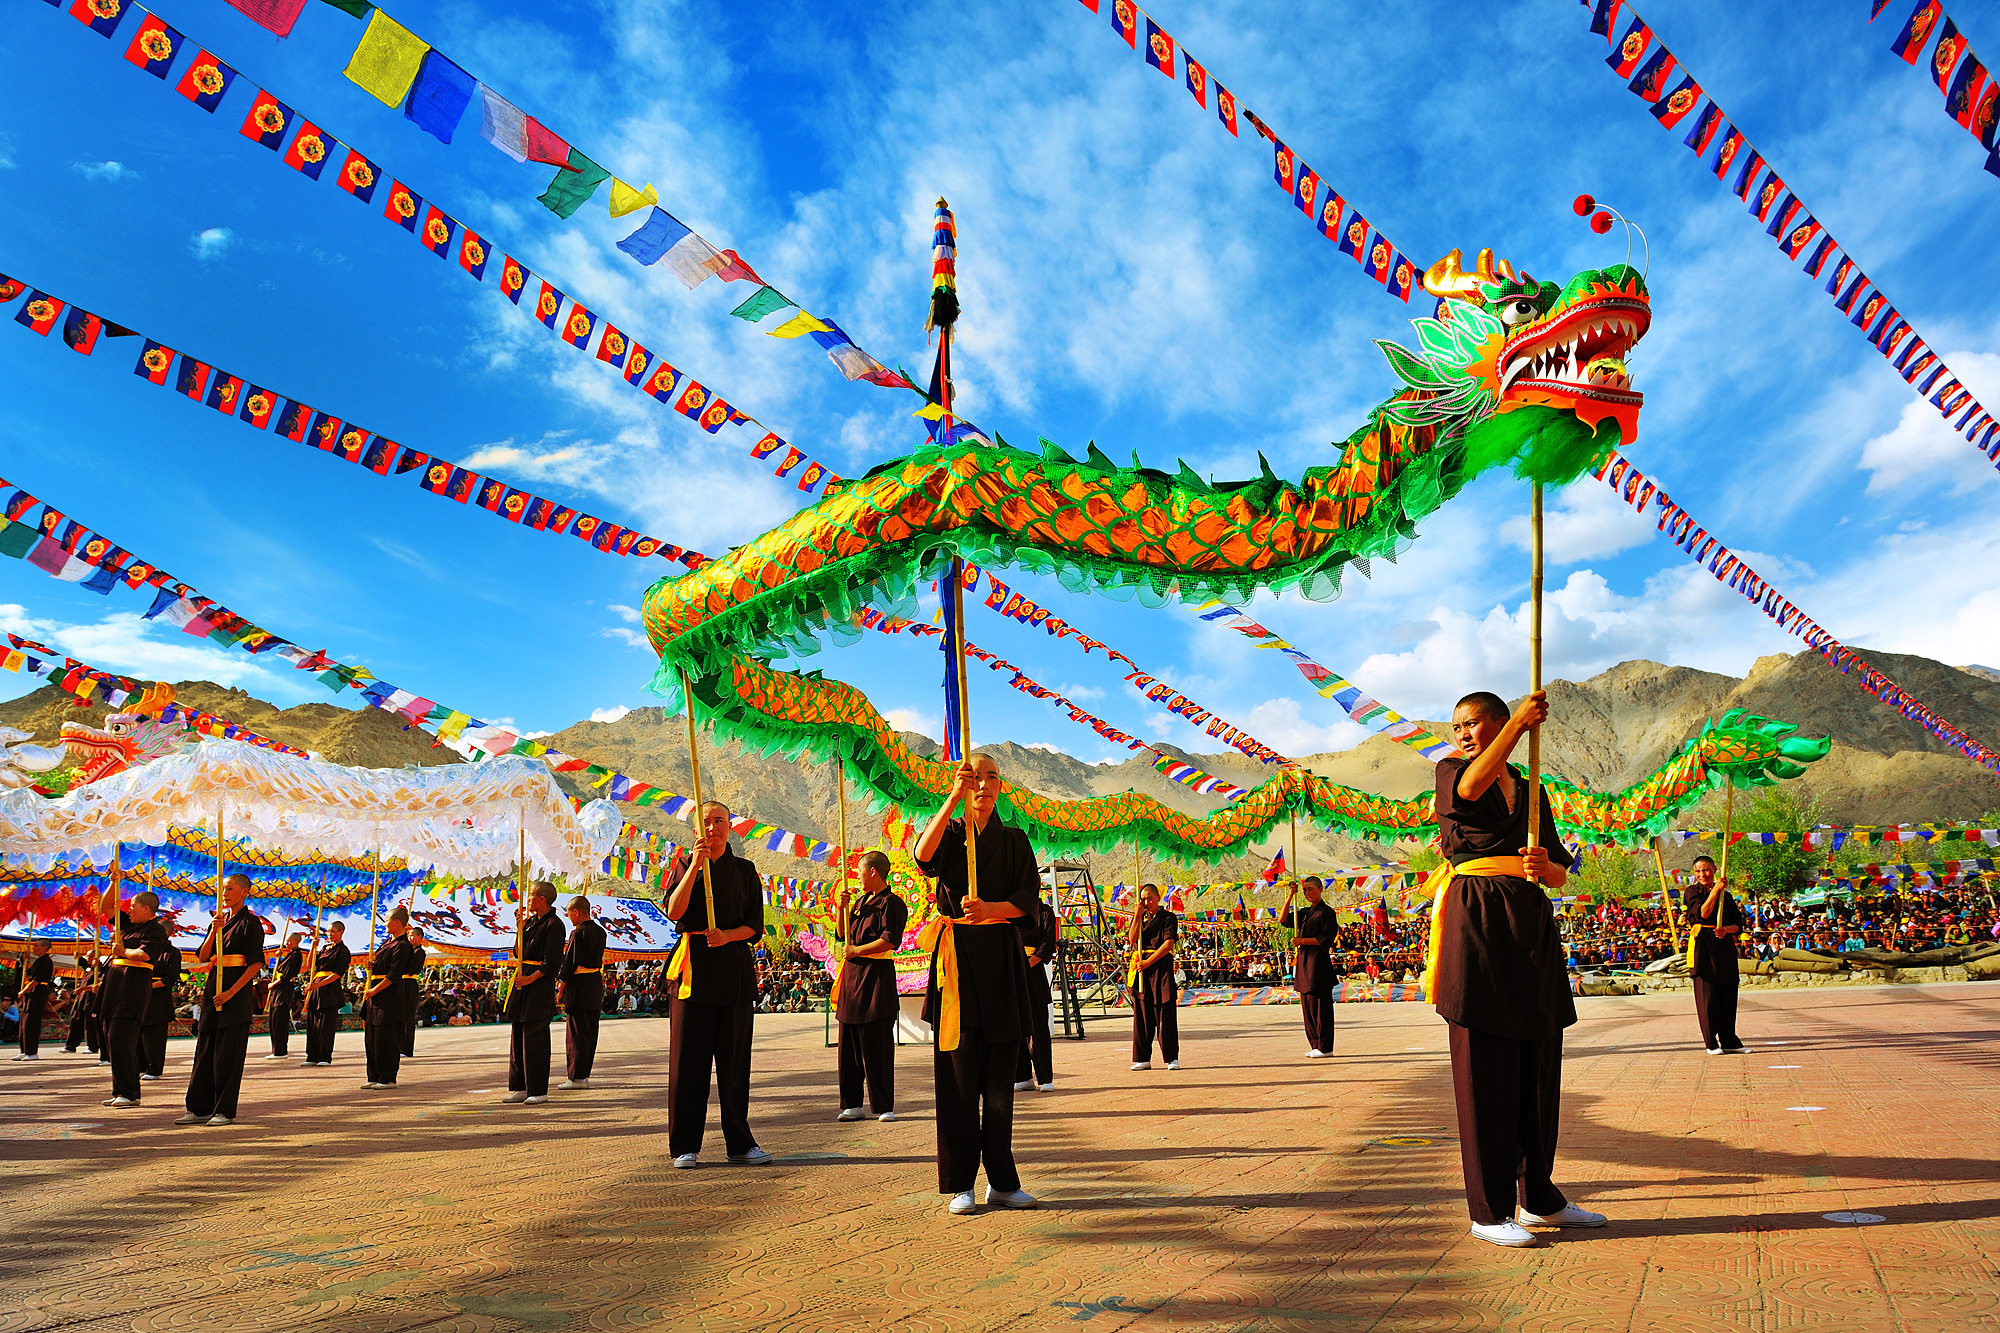
Left: A wide lens, low camera angle and saturated colours give this image its impact.
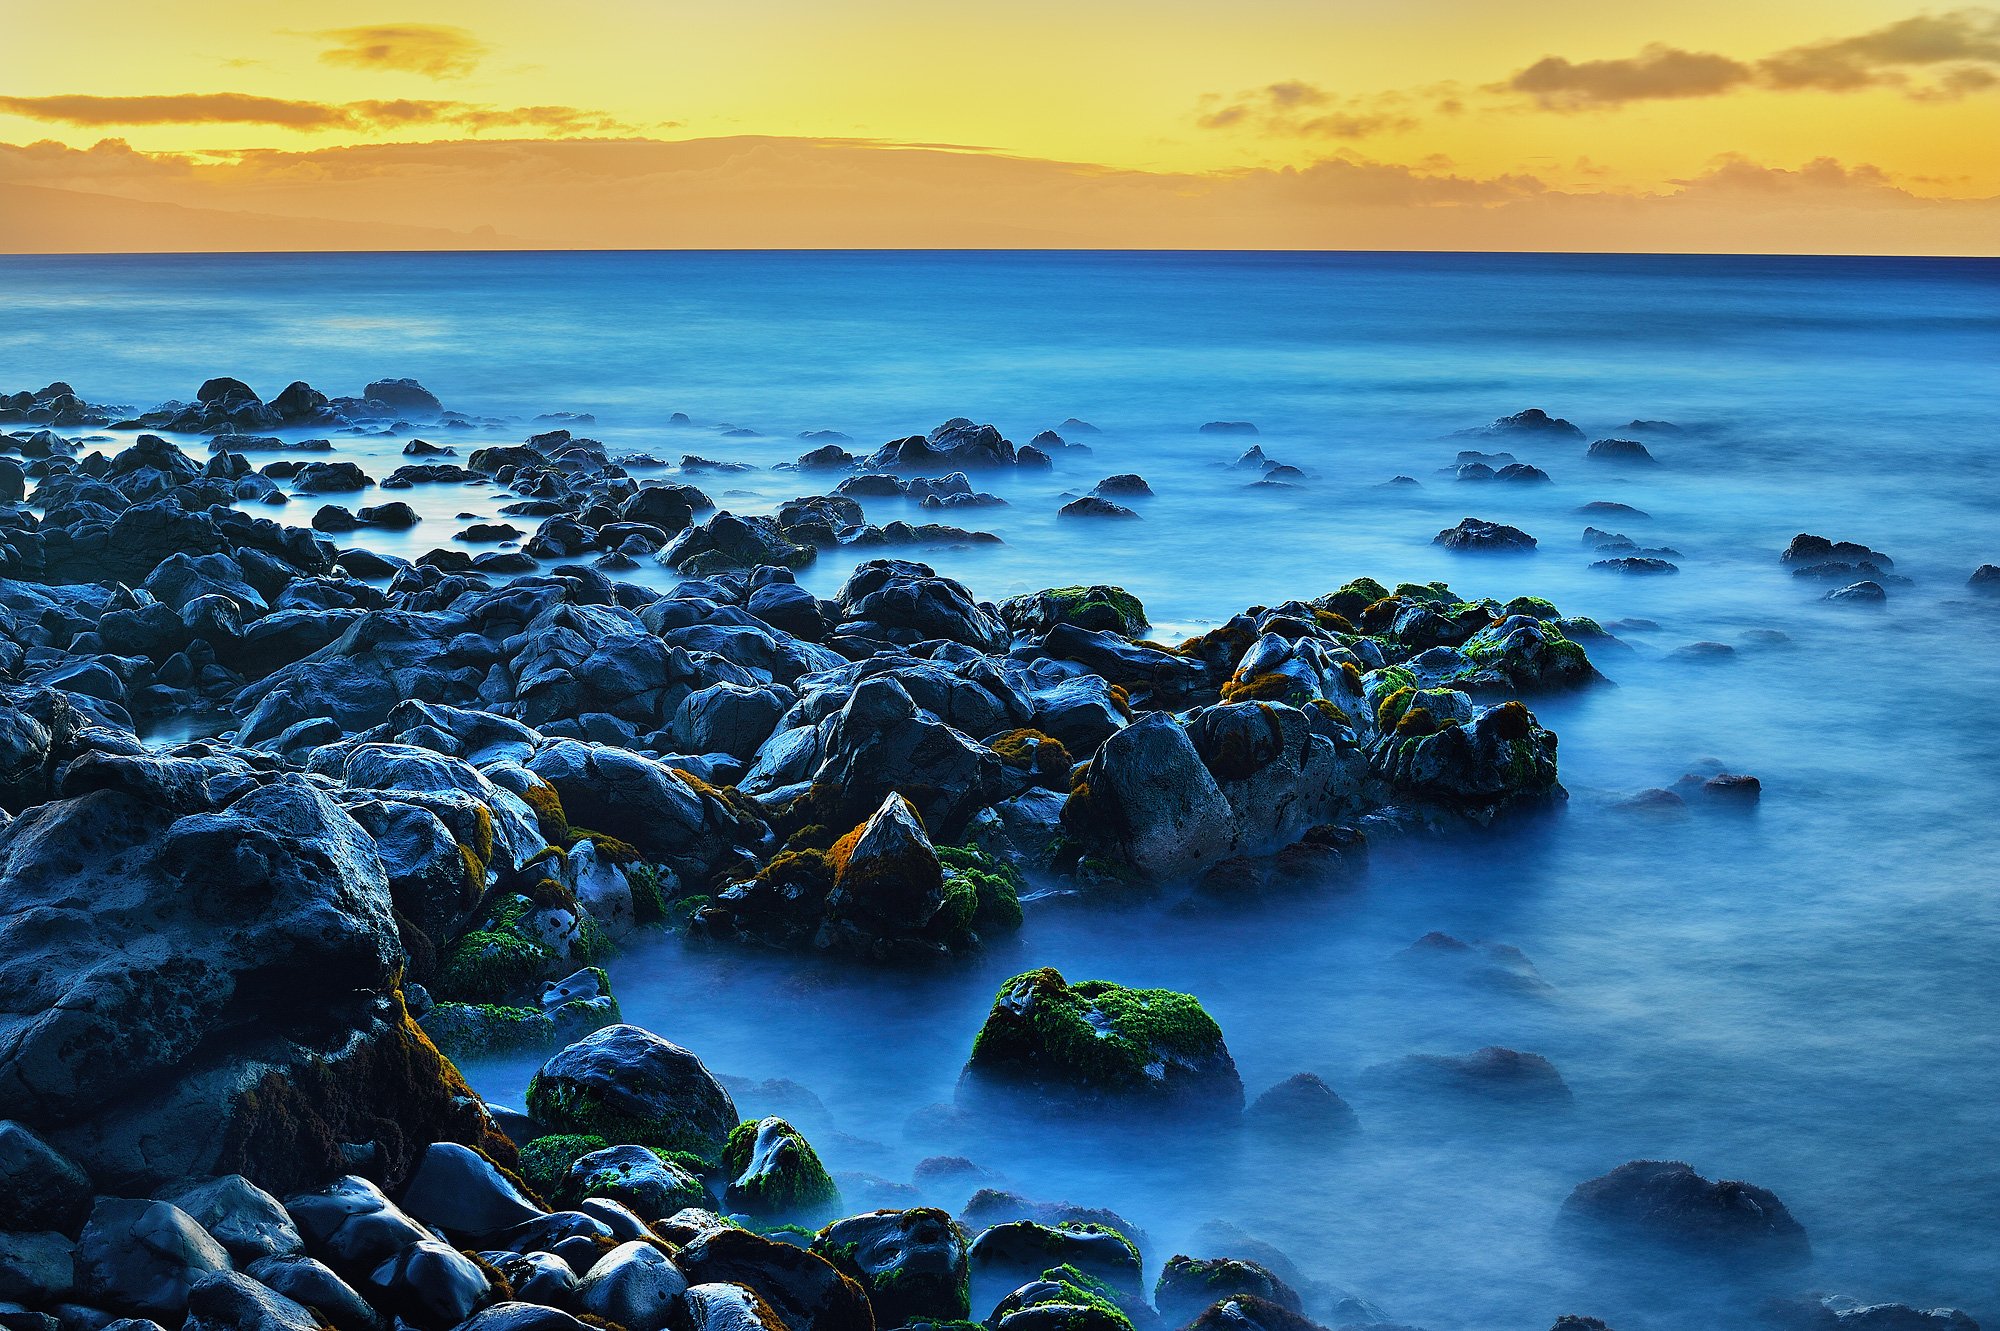
Centre: Using a very long exposure as the waves crashed against the rocks I was able to create this interesting effect.
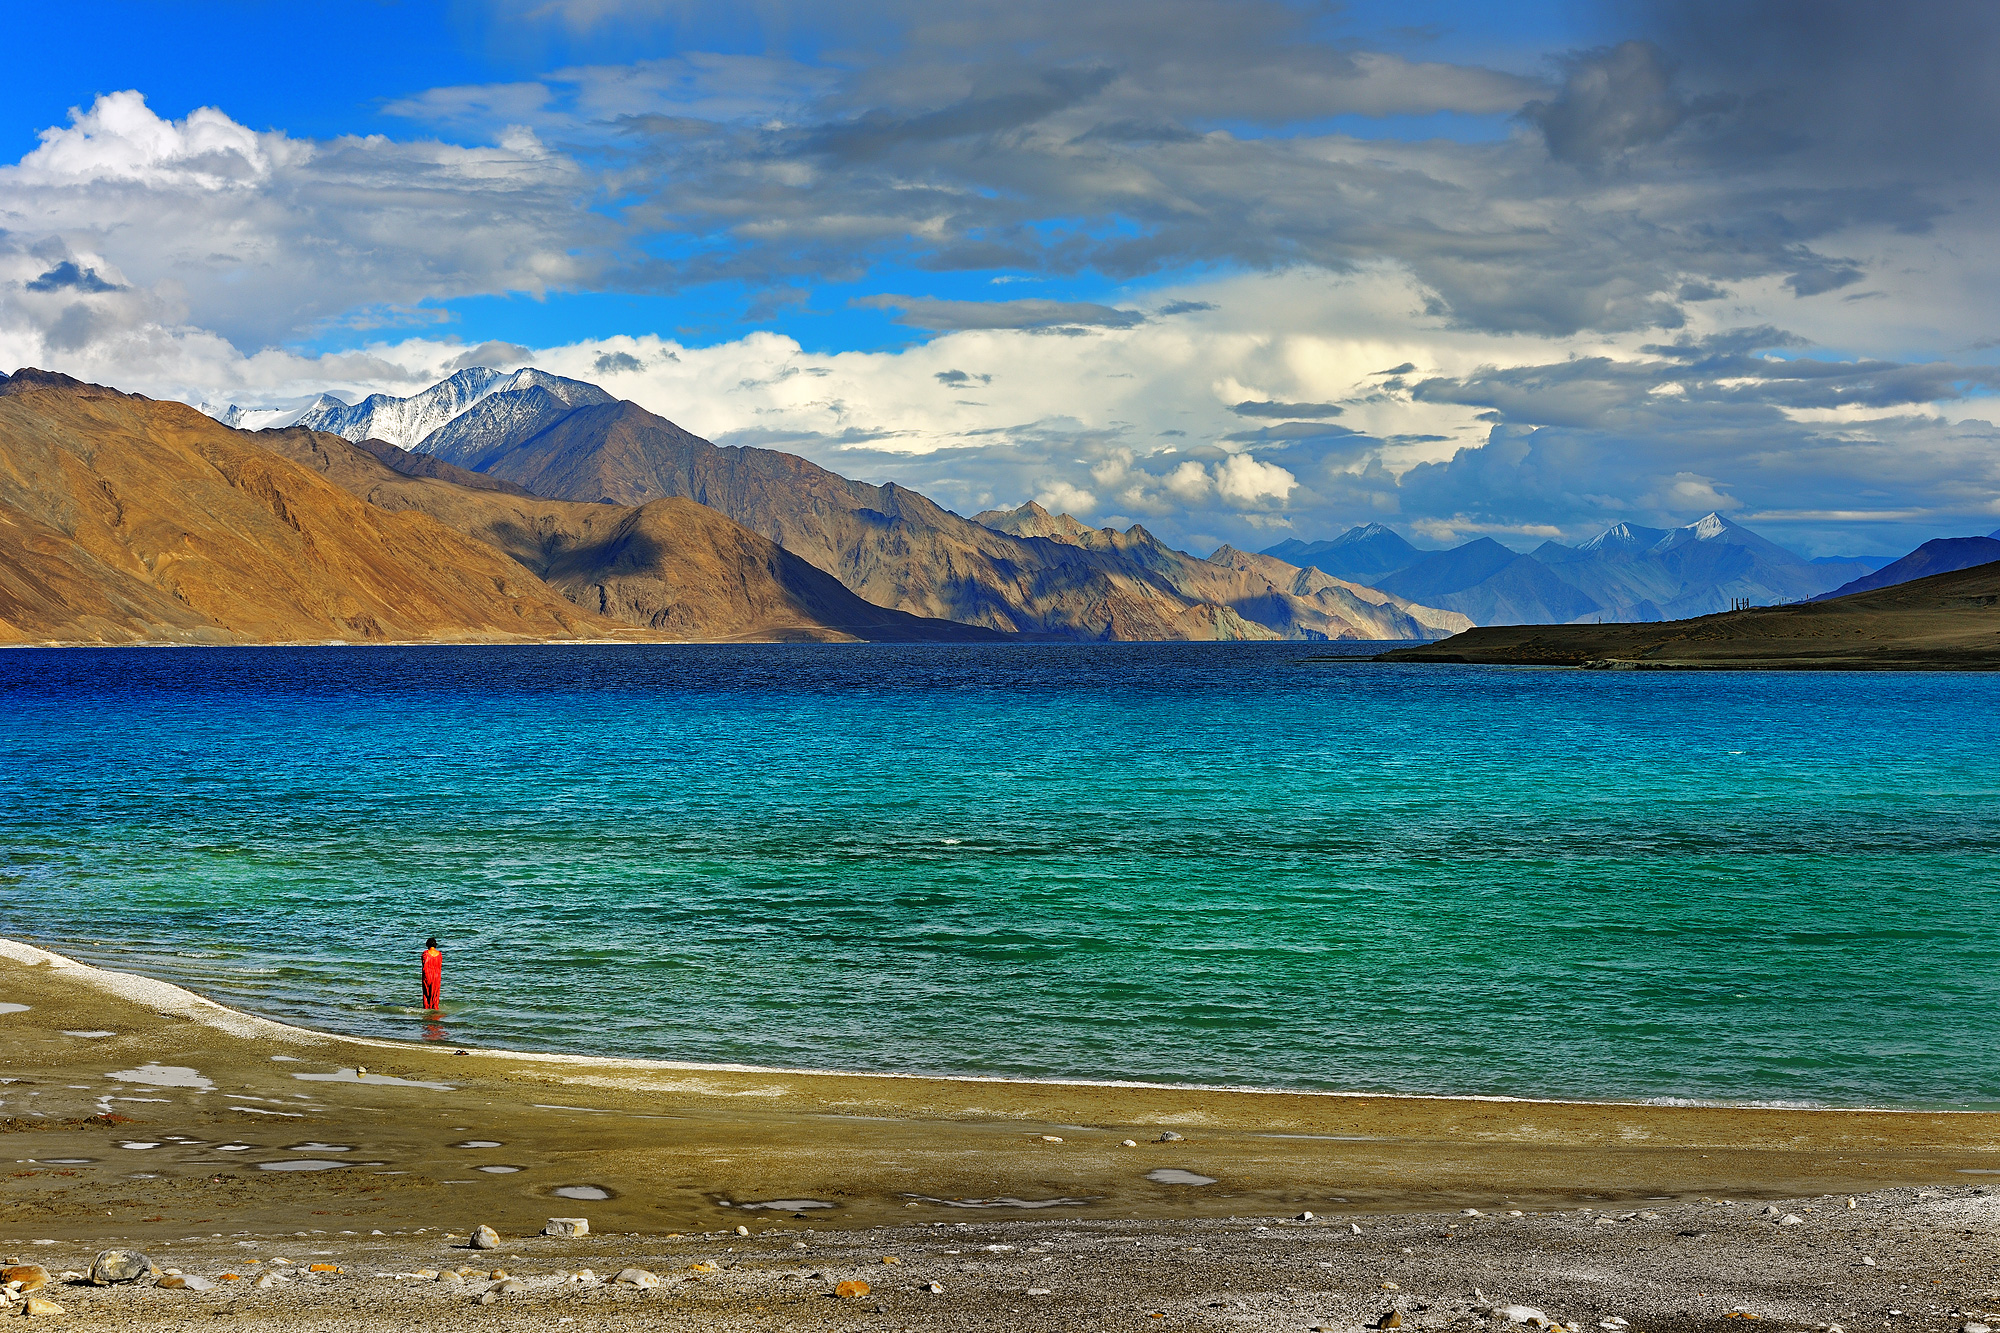
Right: The woman in the red sari off to the side balances this image in composition and contrasting colour.
Lighting
Having great lighting always makes a huge difference in your photographs. Early morning and evening light are usually the best for landscapes because the light is lower and warmer, so it’s worth getting up early or staying out later to get those incredible shots. For street or people photography, bring a small silver/white foldable round reflector. These can help light up an amazing face and put a nice catchlight in their eyes even when it’s bright and sunny out.
Just put the sun behind them and use the reflector to reflect the light back in a controlled way.
If you have a flash that can help as well, especially if you can get it off camera by using a cord or wireless/radio system.
I hope these tips will help you better tell the story of your next travel adventure with impact and excellence. For more tips and workshop info check out my website at kristianbogner.com.
About the Author
Kristian Bogner is a world-class professional photographer and speaker. His photographic philosophy is about ultimate positivity, passion and taking his technical expertise in photography to new levels of personal excellence, as well as sharing his imagery and techniques with others. Kristian is a third generation photographer. He chose the Nikon D1X as his first digital camera and now uses Nikon cameras exclusively.